All photos credited to Christopher Talbot unless otherwise noted
-

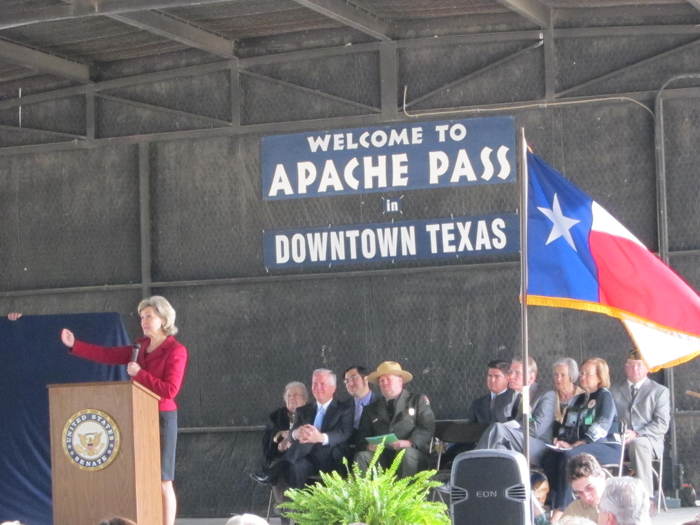
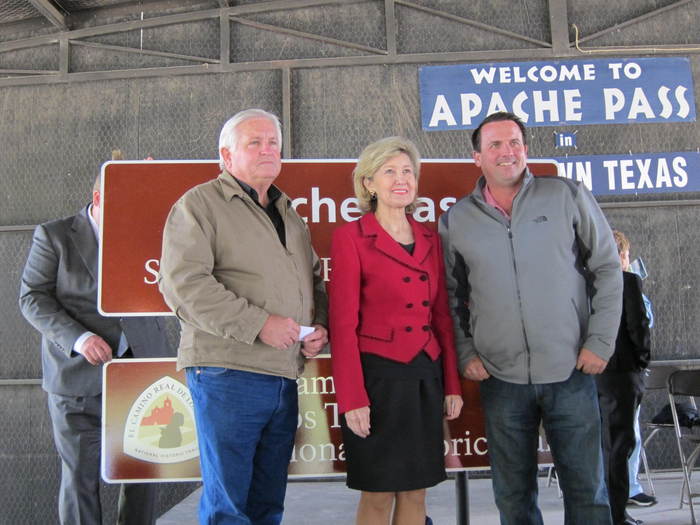
- Senator Hutchison at Signage Unveiling at Apache Pass, photo credit: Steven Gonzales
-

- Senator Hutchison at Signage Unveiling at Apache Pass
-

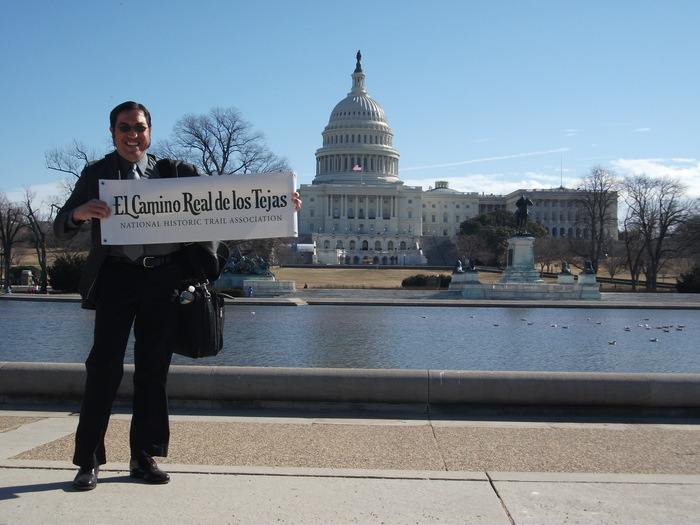
- Hike the Hill – Trails Advocacy Week, photo credit: Steven Gonzales
-
- Mission Tejas State Park, photo credit: Steven Gonzales
-
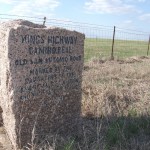
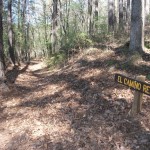
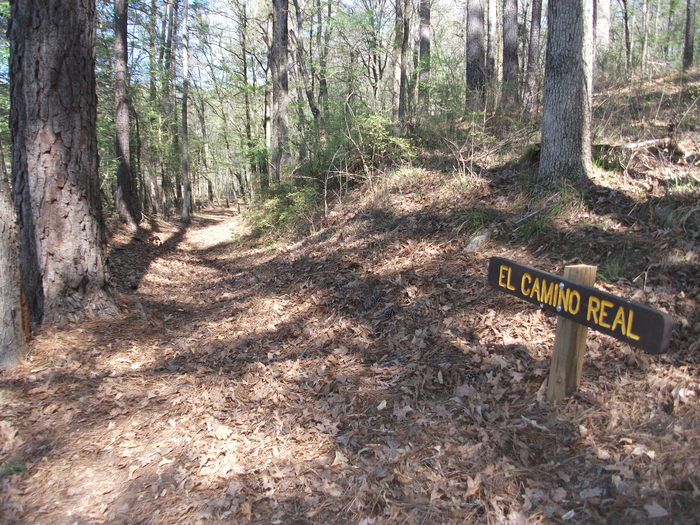
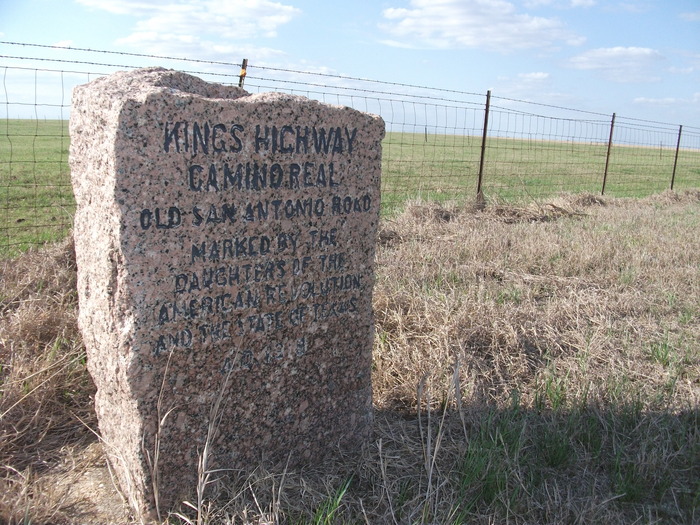
- Zivley – DAR Marker on El Camino Real, photo credit: Steven Gonzales
-
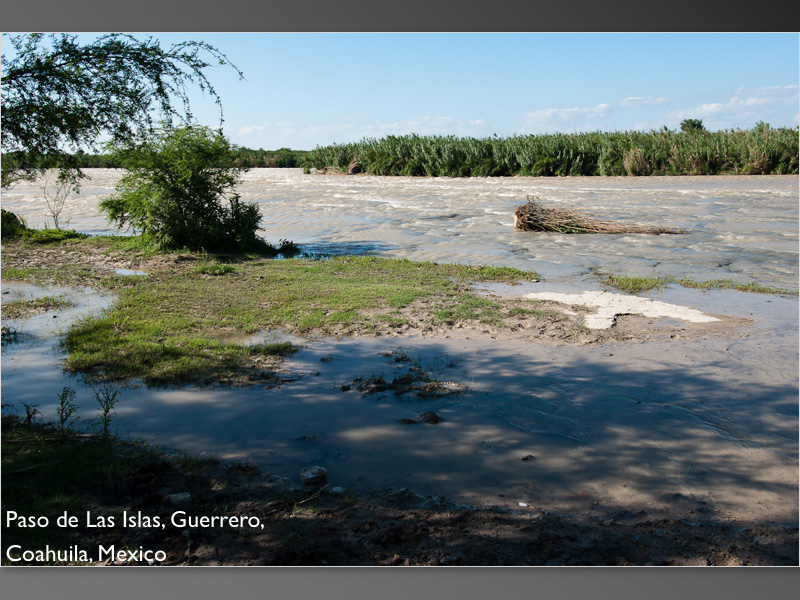
- Paso de las Islas, Guerrero, Coahuila, Mexico
-

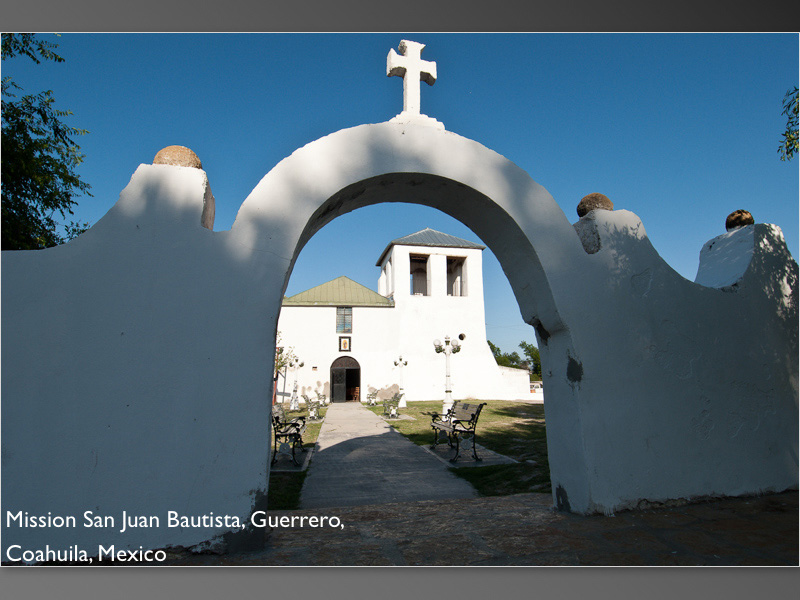
- Mission San Juan Bautista, Guerrero, Coahuila, Mexico
-
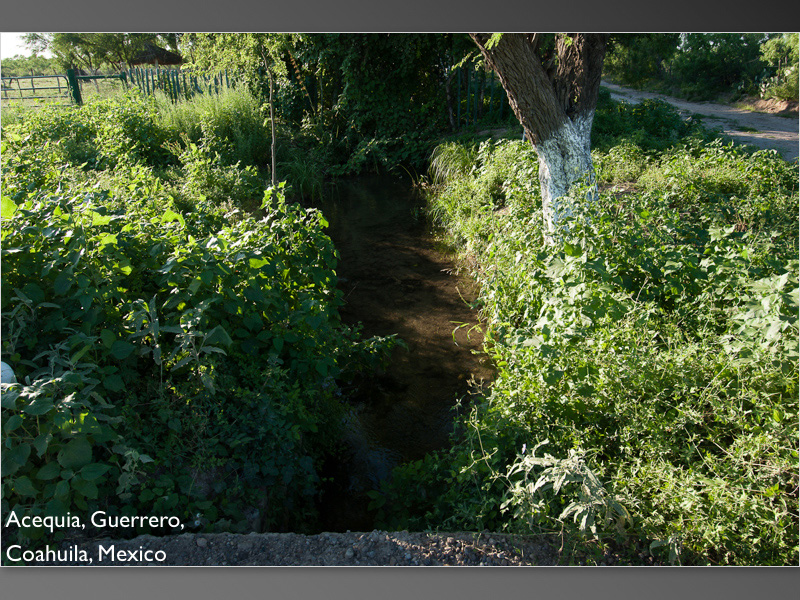
- Acequia, Guerrero, Coahuila, Mexico
-

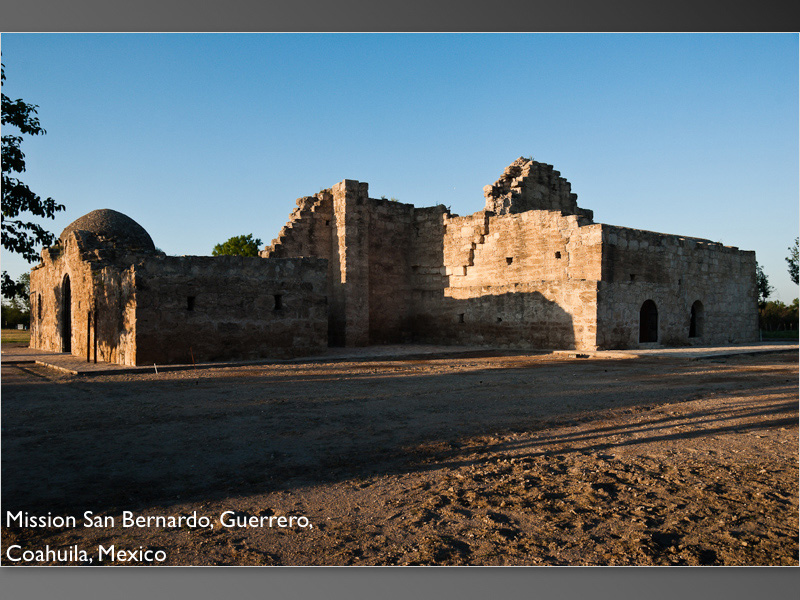
- Mission San Bernardo, Guerrero, Coahuila, Mexico
-
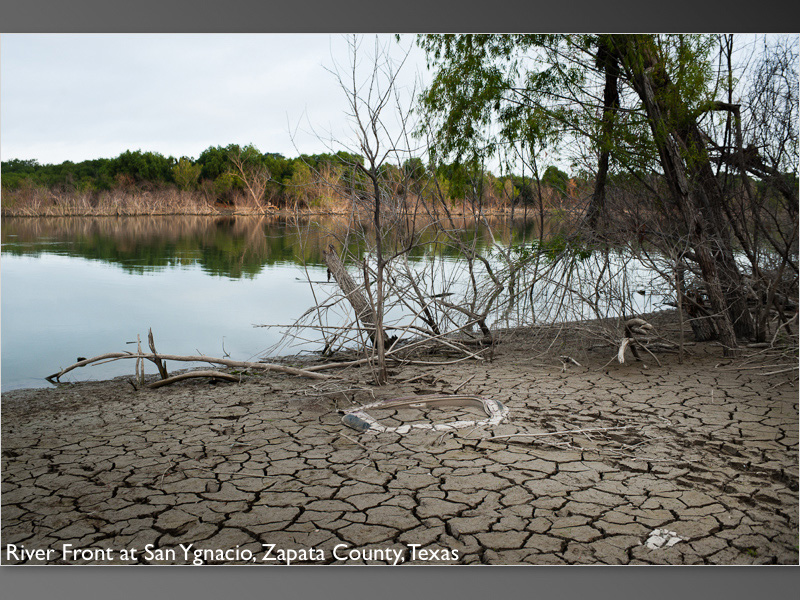
- River front at San Ygnacio, Zapata County, Texas
-
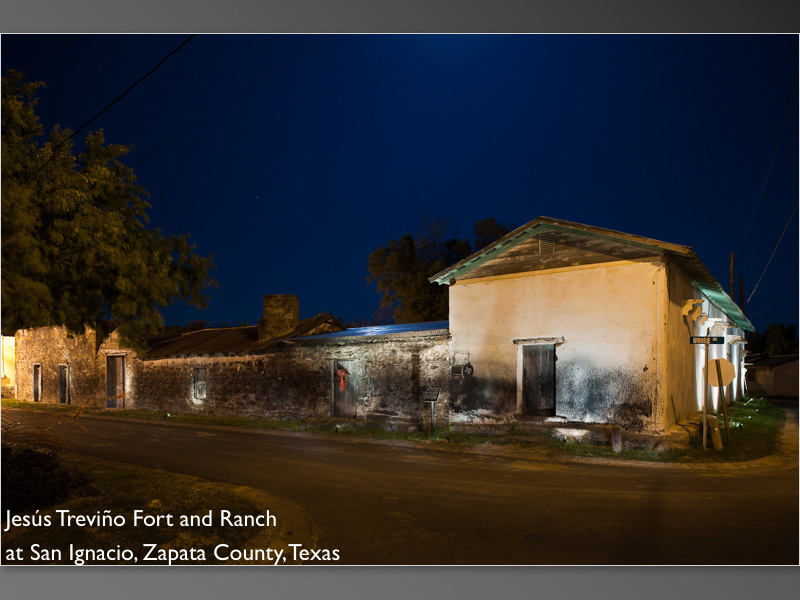
- Jesus Trevino Fort and Ranch at San Ygnacio, Zapata County, Texas
-
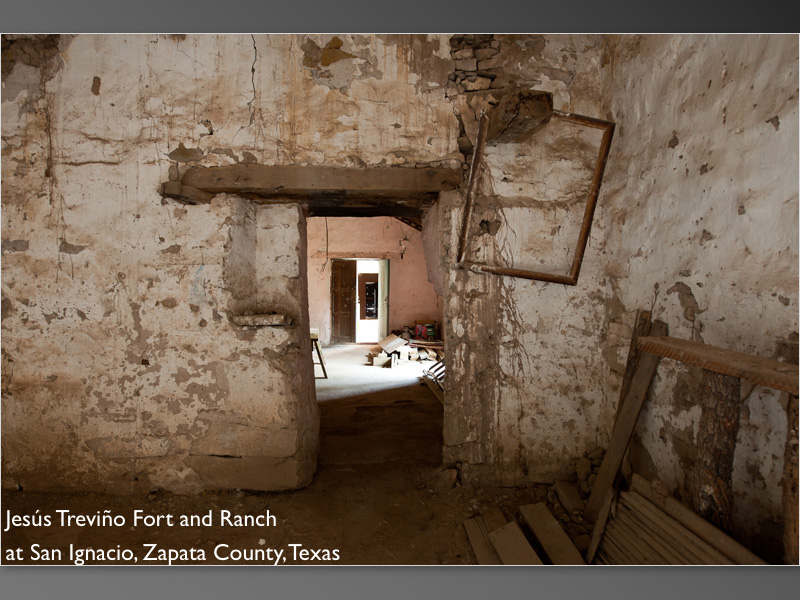
- Jesus Trevino Fort and Ranch at San Ygnacio, Zapata County, Texas
-
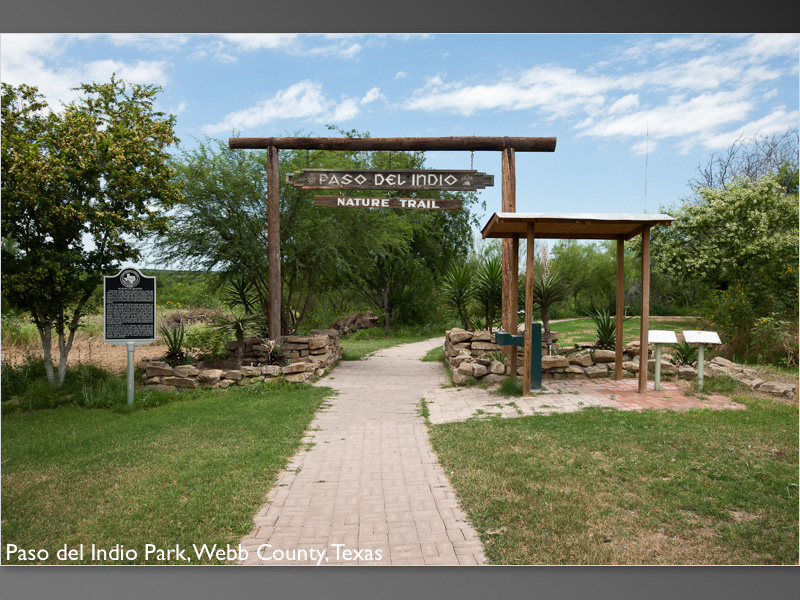
- Paso del Indio Park, Webb County, Texas
-
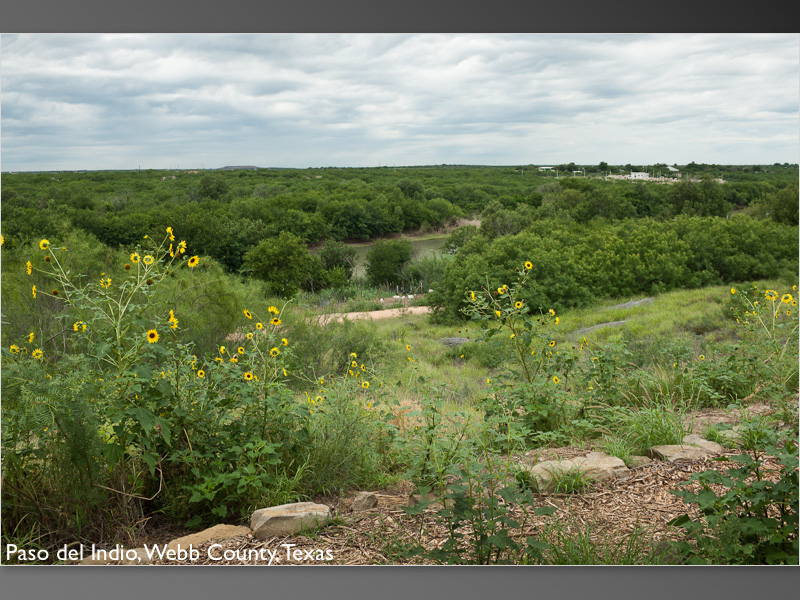
- Paso del Indio Park, Webb County, Texas
-
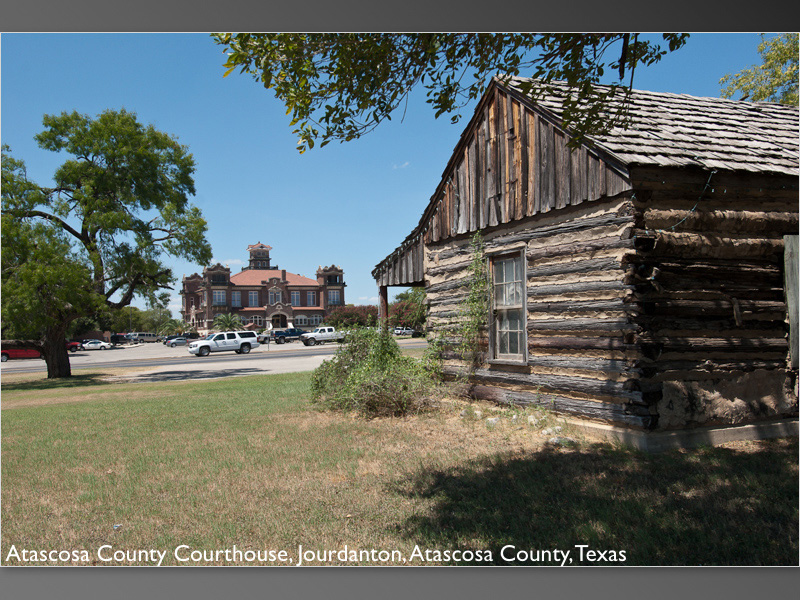
- Atascosa County Courthouse, Jourdanton, Atascosa County, Texas
-
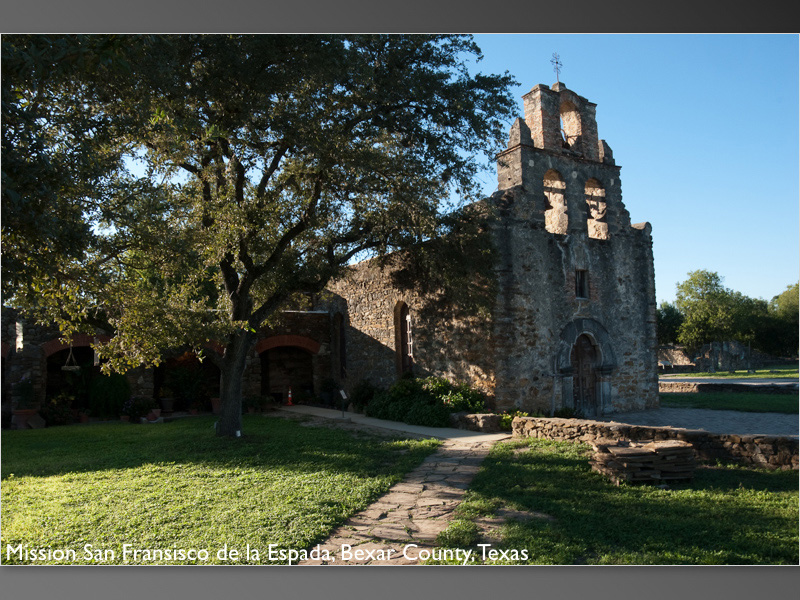
- Mission San Francisco de las Espada, San Antonio, Bexar County, Texas
-
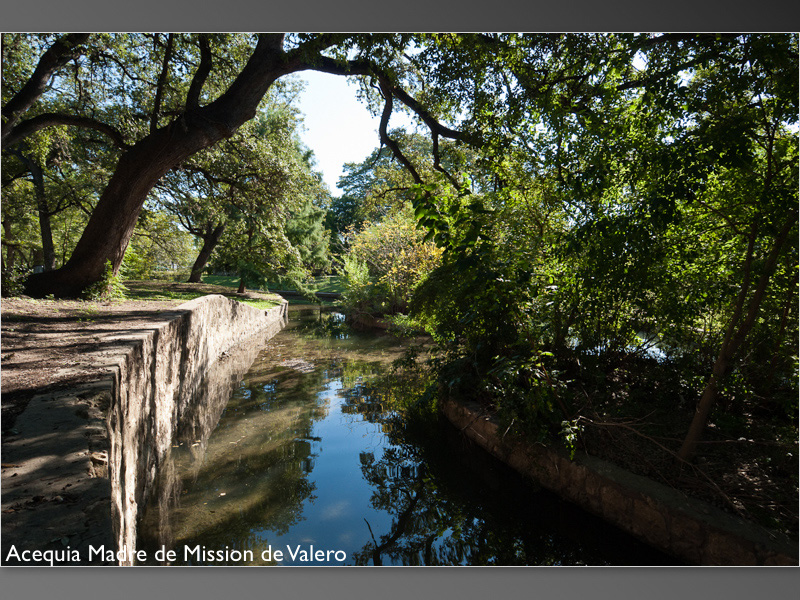
- Acequia Madre de Mission de Valero, Bexar County, Texas
-
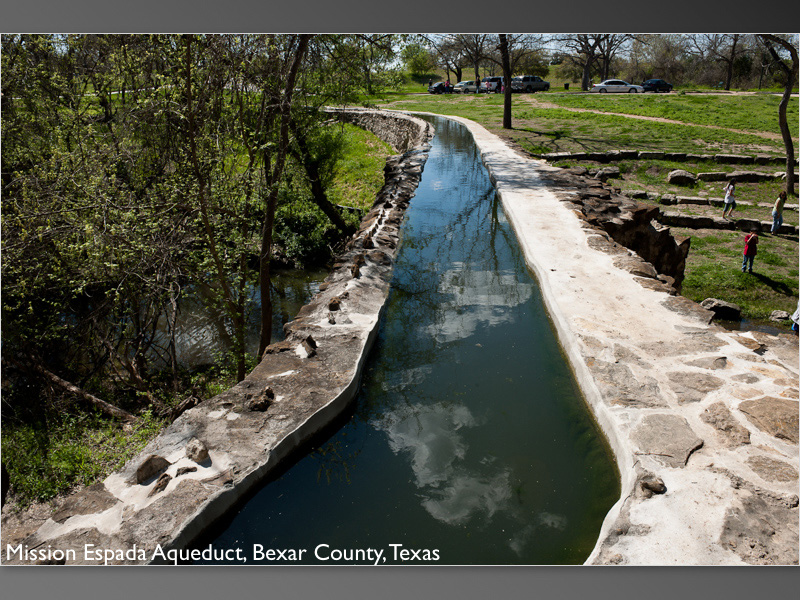
- Mission Espada Aqueduct, Bexar County, Texas
-
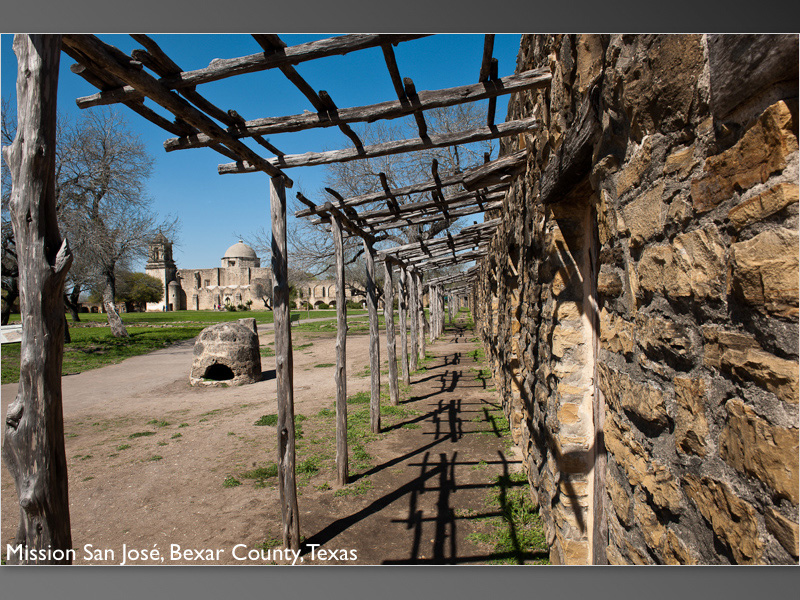
- Mission San Jose, Bexar County, Texas
-
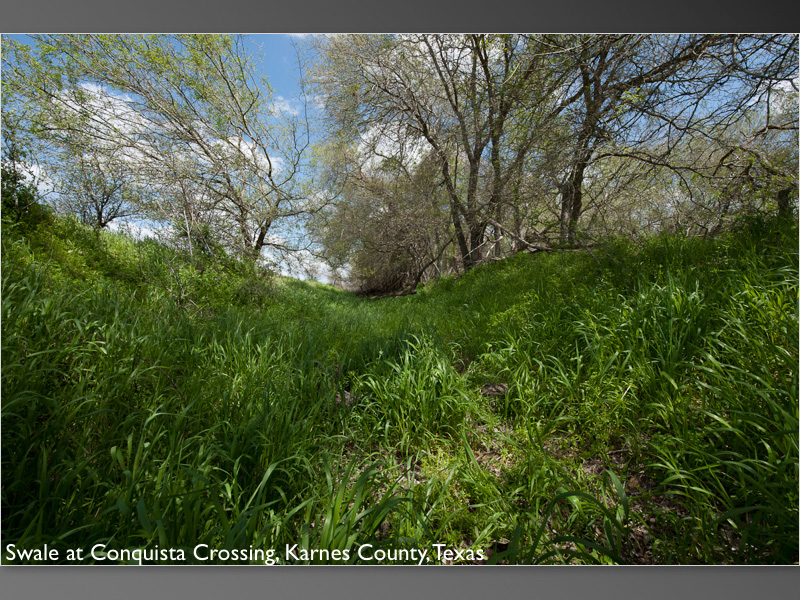
- Swale at Conquista Crossing, Karnes County, Texas
-
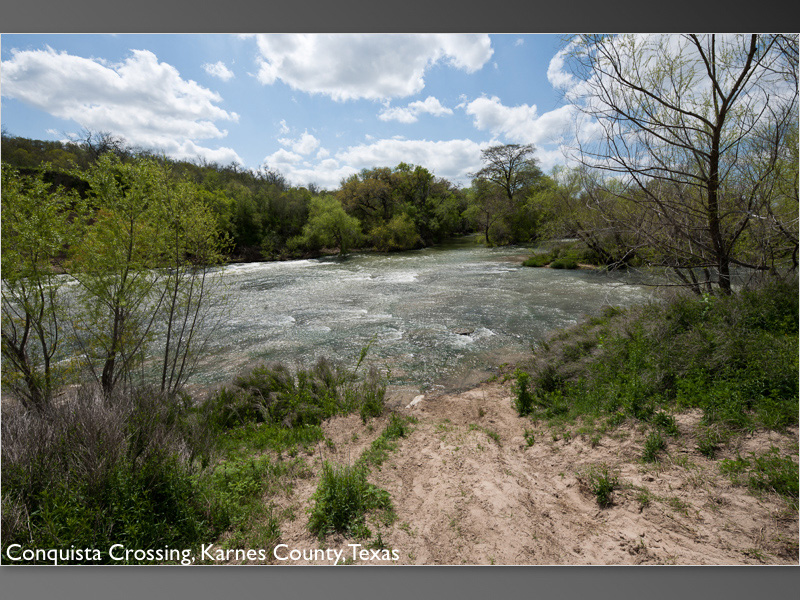
- Conquista Crossing, Karnes County, Texas
-

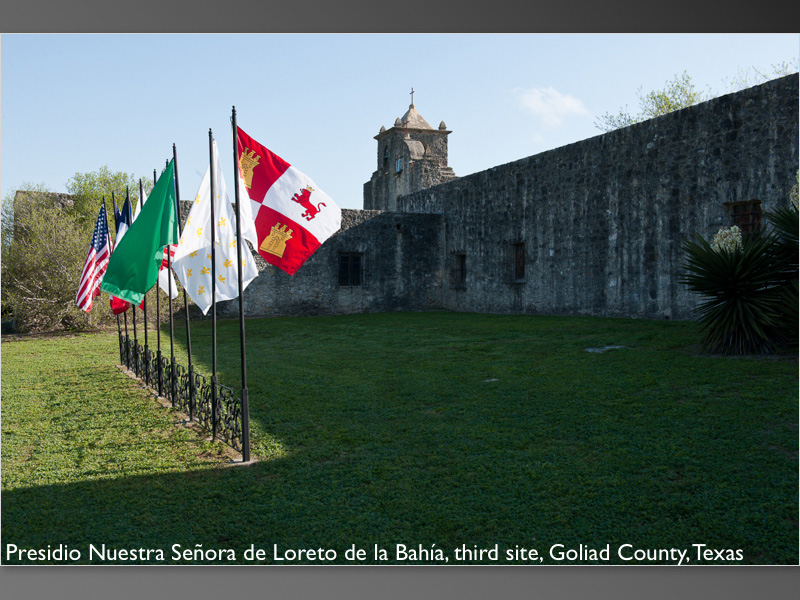
- Presidio Nuestra Senora de Loreto de la Bahia, third site, Goliad County, Texas
-
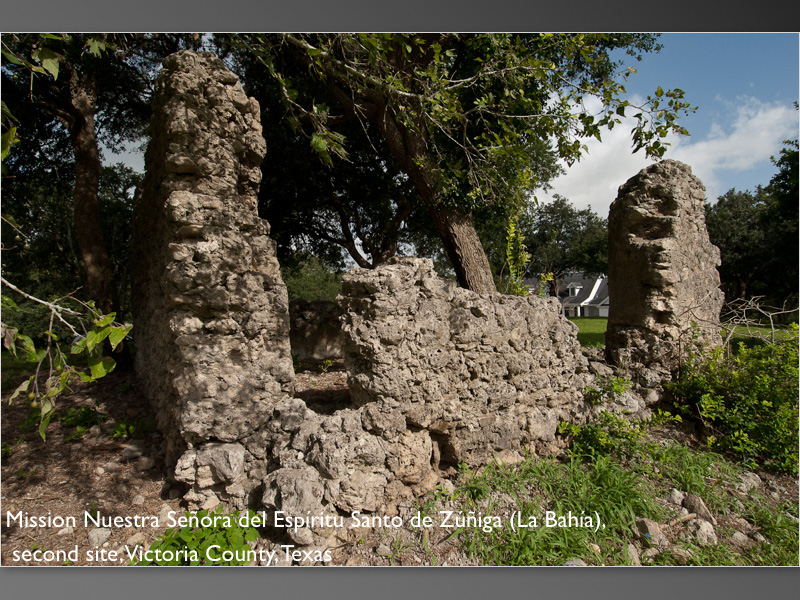
- Presidio Nuestra Senora de Loreto del Espiritu Santo de Zuniga (La Bahia), second site, Victoria County, Texas
-
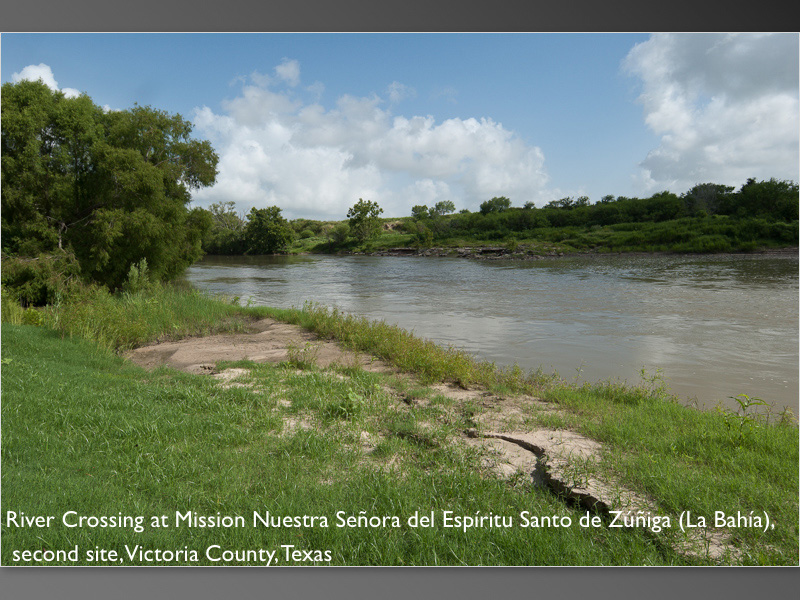
- River Crossing at Presidio Nuestra Senora de Loreto del Espiritu Santo de Zuniga (La Bahia), second site, Victoria County, Texas
-
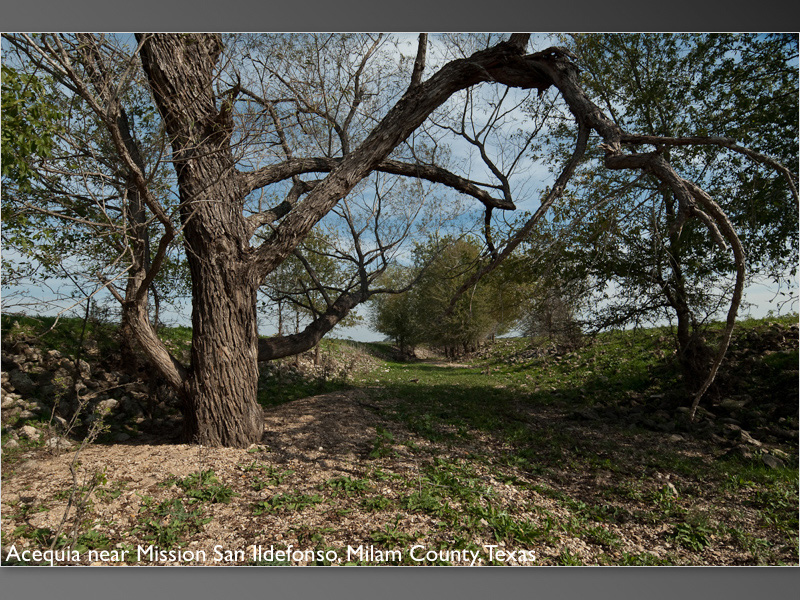
- Acequia near Mission San Ildefonso, Milam County, Texas
-
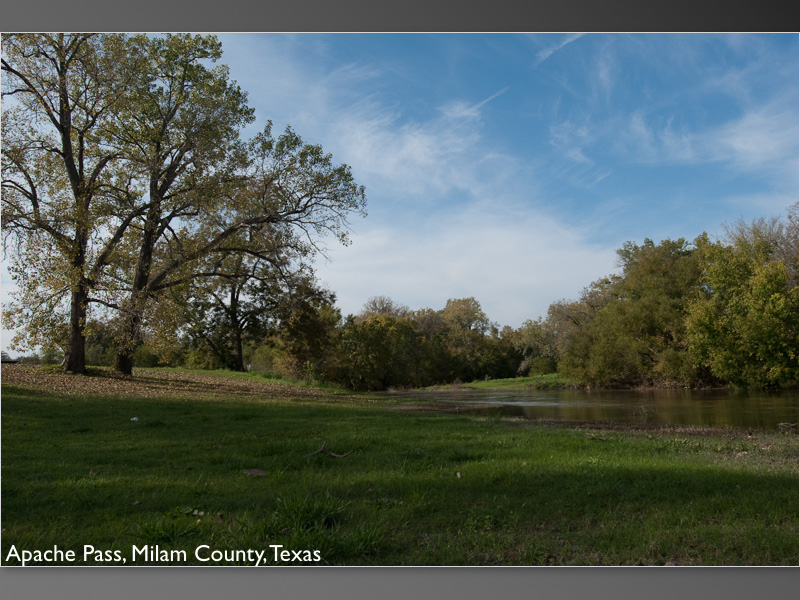
- Apache Pass, Milam County, Texas
-
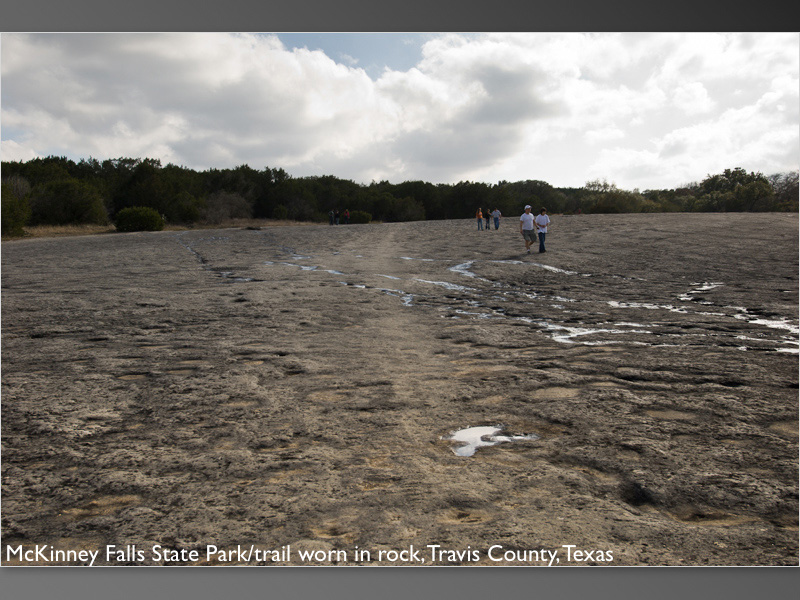
- Trail worn in rock, McKinney Falls State Park, Travis County, Texas
-
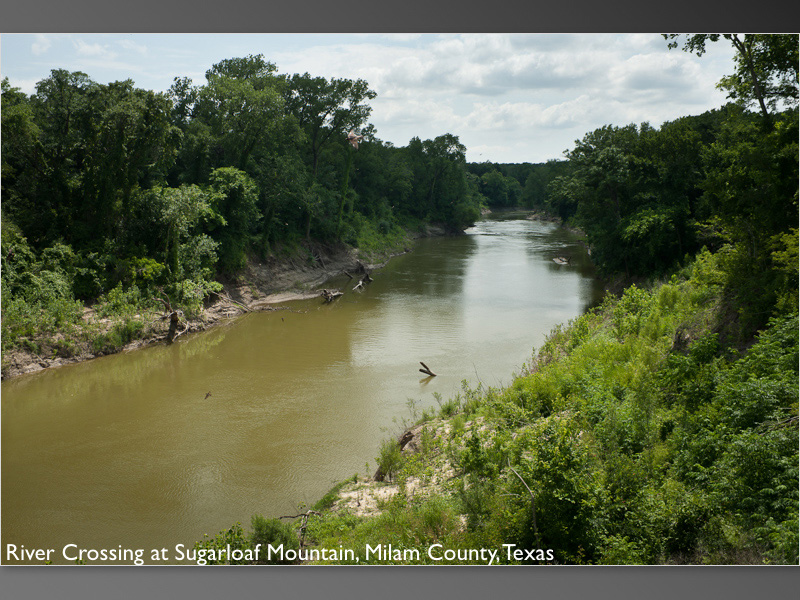
- River Crossing at Sugarloaf Mountain, Milam County, Texas
-
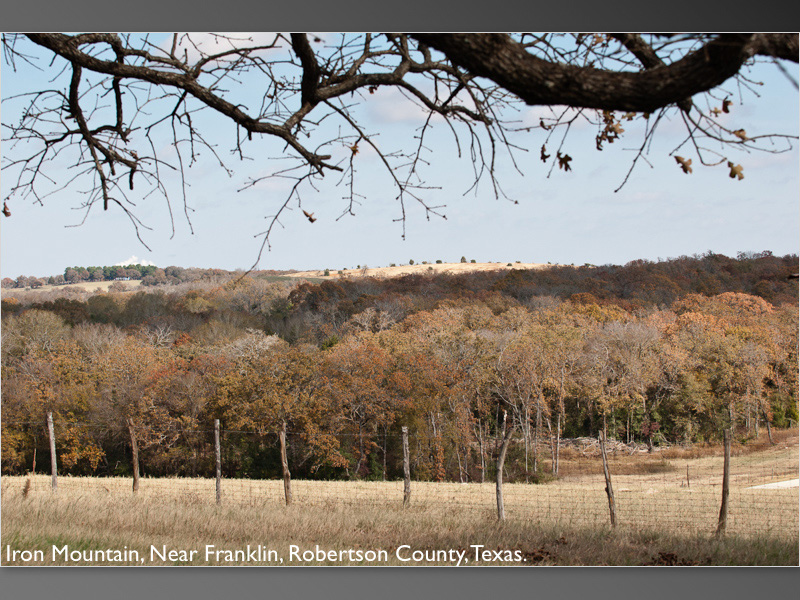
- Iron Mountain, Robertson County, Texas

-
- Iron Mountain, Robertson County, Texas
-
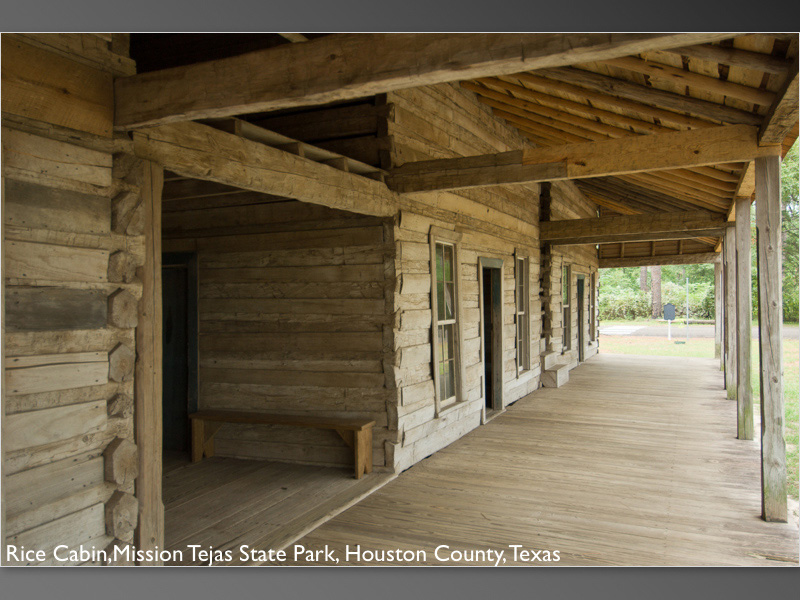
- Rice Cabin, Mission Texas State Park, Houston County, Texas
-
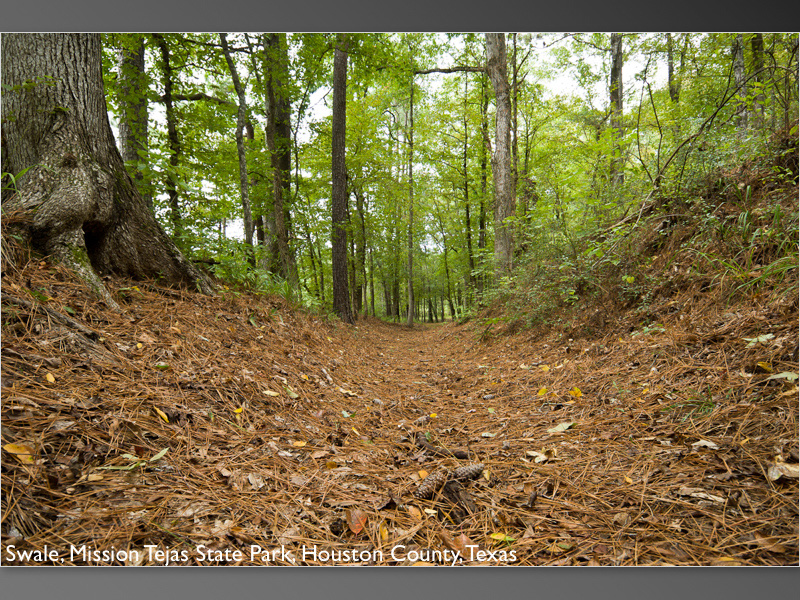
- Swale, Mission Texas State Park, Houston County, Texas
-
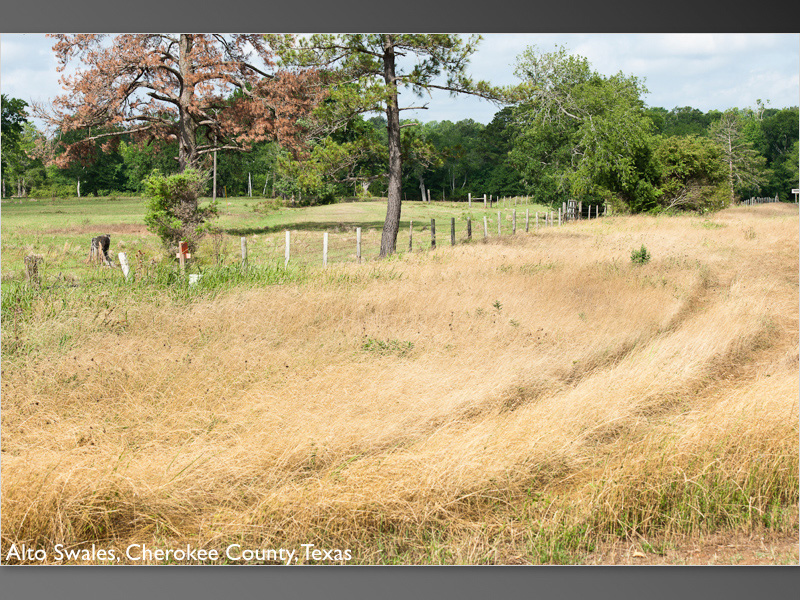
- Alto Swales, Cherokee County, Texas
-

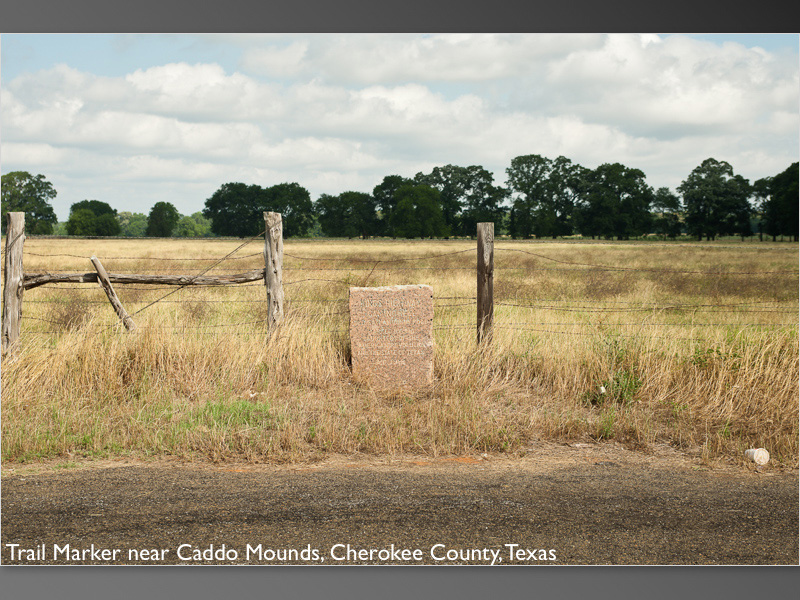
- Trail Marker near Caddo Mounds, Cherokee County, Texas
-
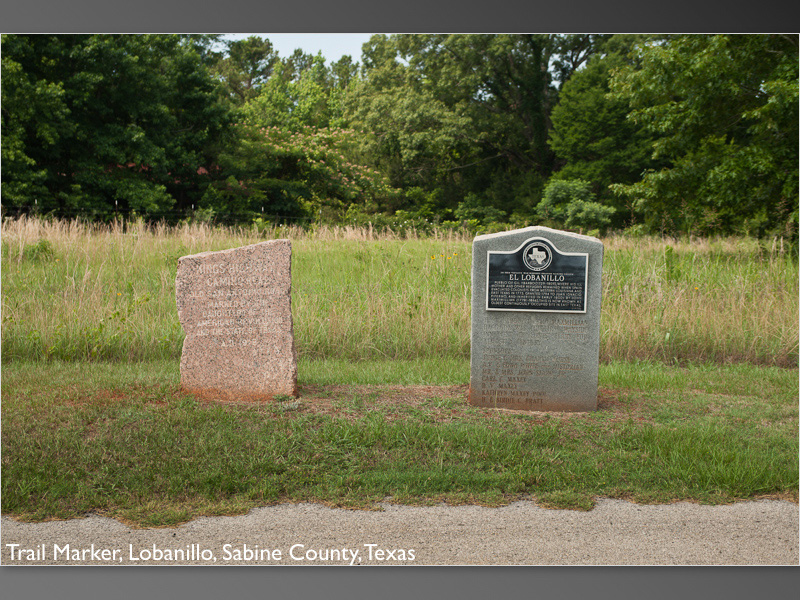
- Lobanillo Trail Marker, Sabine County, Texas
-
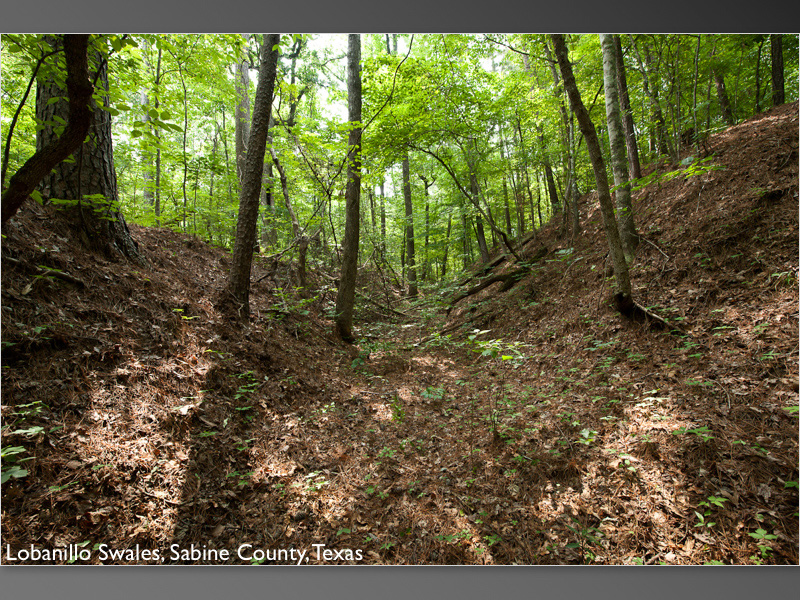
- Lobanillo Swales, Sabine County, Texas
-
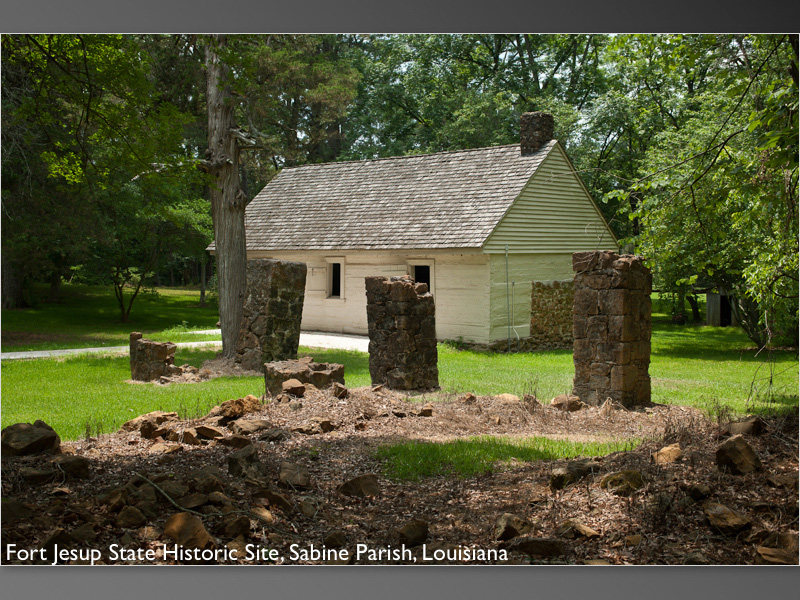
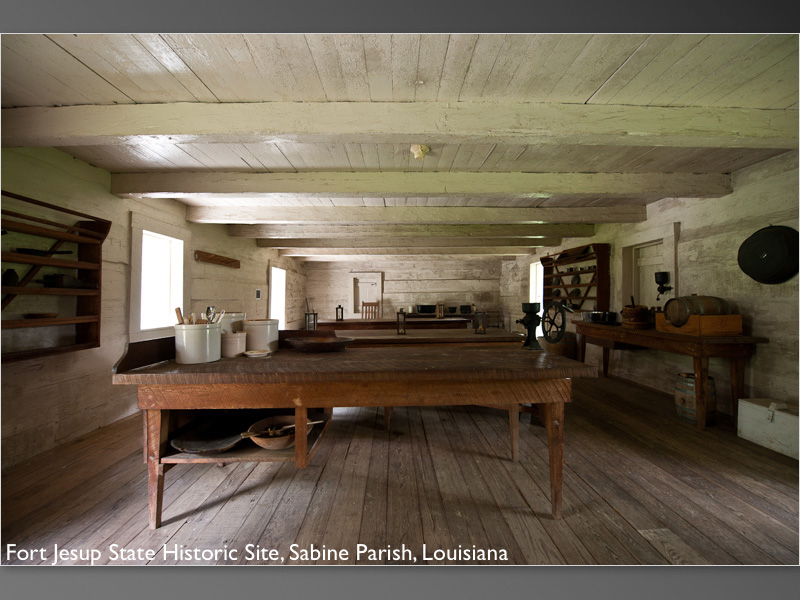
- Fort Jesup State Historic Site, Sabine Parish, Louisiana
-
- Fort Jesup State Historic Site, Sabine Parish, Louisiana
-
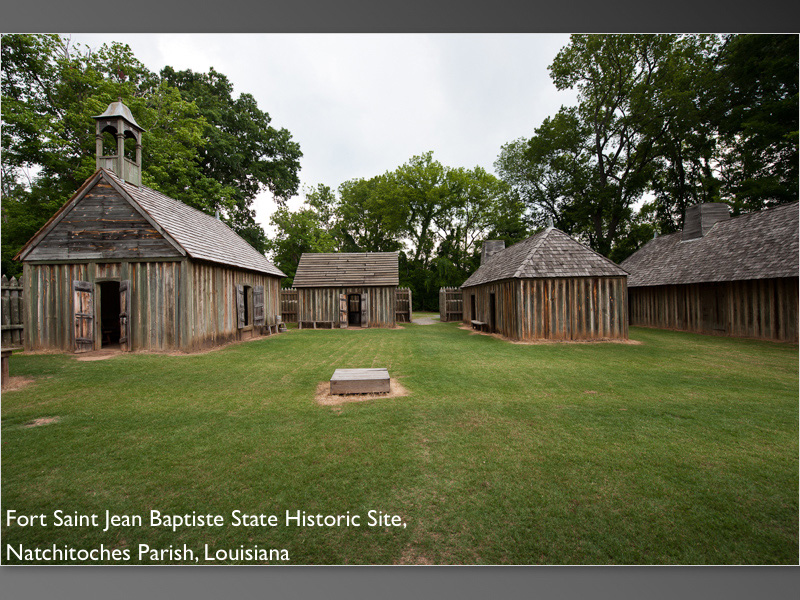
- Fort Jean Baptiste State Historic Site, Natchitoches Parish, Louisiana
-
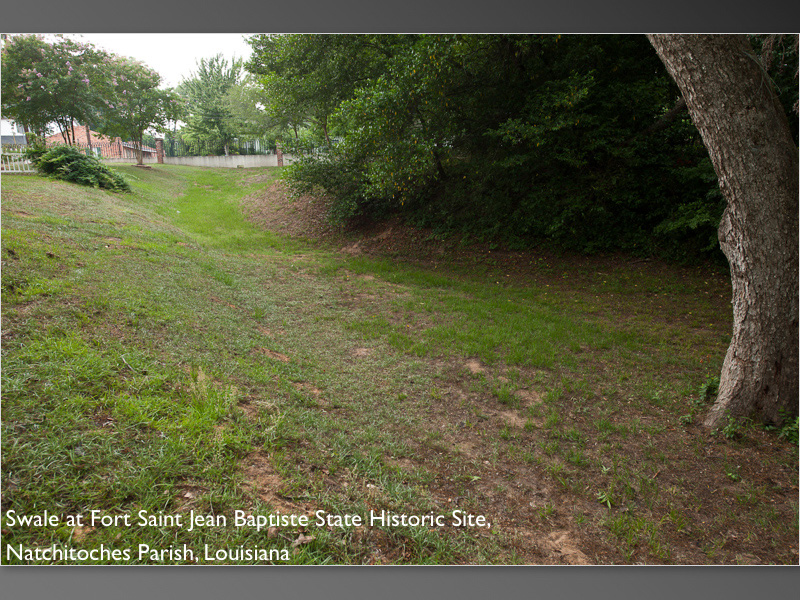
- Swale at Fort Jean Baptiste State Historic Site, Natchitoches Parish, Louisiana